Snowflake Ornament
Is there a new activity you would like to see? Why don't you contact us and request it. We will add it to the "List" and do our best to make it happen! The new dragon maker, the horse maker, and the animal maker were all requests by users like you!
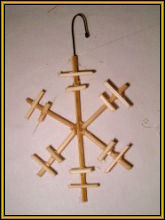
These little ornaments are surprisingly pretty on a tree. I sparkled some of mine in white, and some in copper, but you could really use whatever colour scheme best suits your tree.
Do you need a window display? Making different lengths/patterns of cross sections on each flake, different snowflake sizes, along with some slight colour variations, would give you quite a nice display. Just hang them with fishing line. If you wanted to mix it up a little more, you could also sparkle up some little styrofoam balls.
Materials
- Wooden Skewers
- Hot Glue Gun
- Wire
- White Glue
- Sparkles
- Paint Brush
- Wire Cutters (or heavy duty scissors)
- Clean Paper and Scrap Cardboard
Instructions
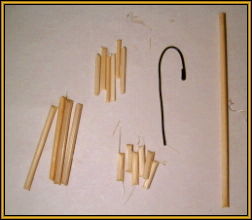
1. Cut a little curl of wire to use as a hook. Bend its ends over so it can't scratch anyone. Use the wire cutters to snip the skewer into the following sizes:
- One each 4" (10cm) section
- Four each 2" (5cm) sections
- Six each 1" (2.5cm) sections
- Six each 3/4" (2cm) sections
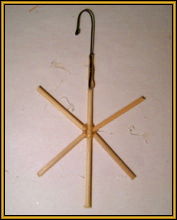
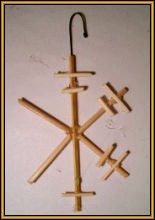
2. Use the hot glue to adhere the hook to the top of the 4" skewer piece. Glue the 2" sections to the center of the skewer as in the second photo. Now hot glue the little cross pieces onto the main arms of the star as shown in the third photo.
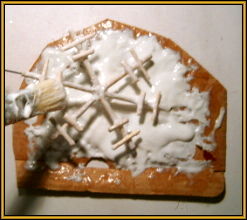
3. Your snowflake frame is now finished. Use the paintbrush to cover the frame with a generous coating of glue. (Its a good idea to do this over scrap cardboard, it can get messy.)
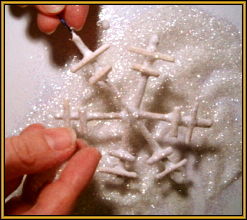
4. Hold the snowflake by the hook over a clean sheet of paper, now pour or sprinkle the glitter over the whole thing. (You can pick up the paper and use it to pour excess glitter back in the jar.)
5. Hang your new snowflake to dry. You may need to give your snowflake a second coating of glitter if you missed spots. As a final step, give it a coating of glue on top of the glitter to keep it from shedding sparkles ;)
